|
| Simplicity by Keith Lowe |
Dear
Clayton,
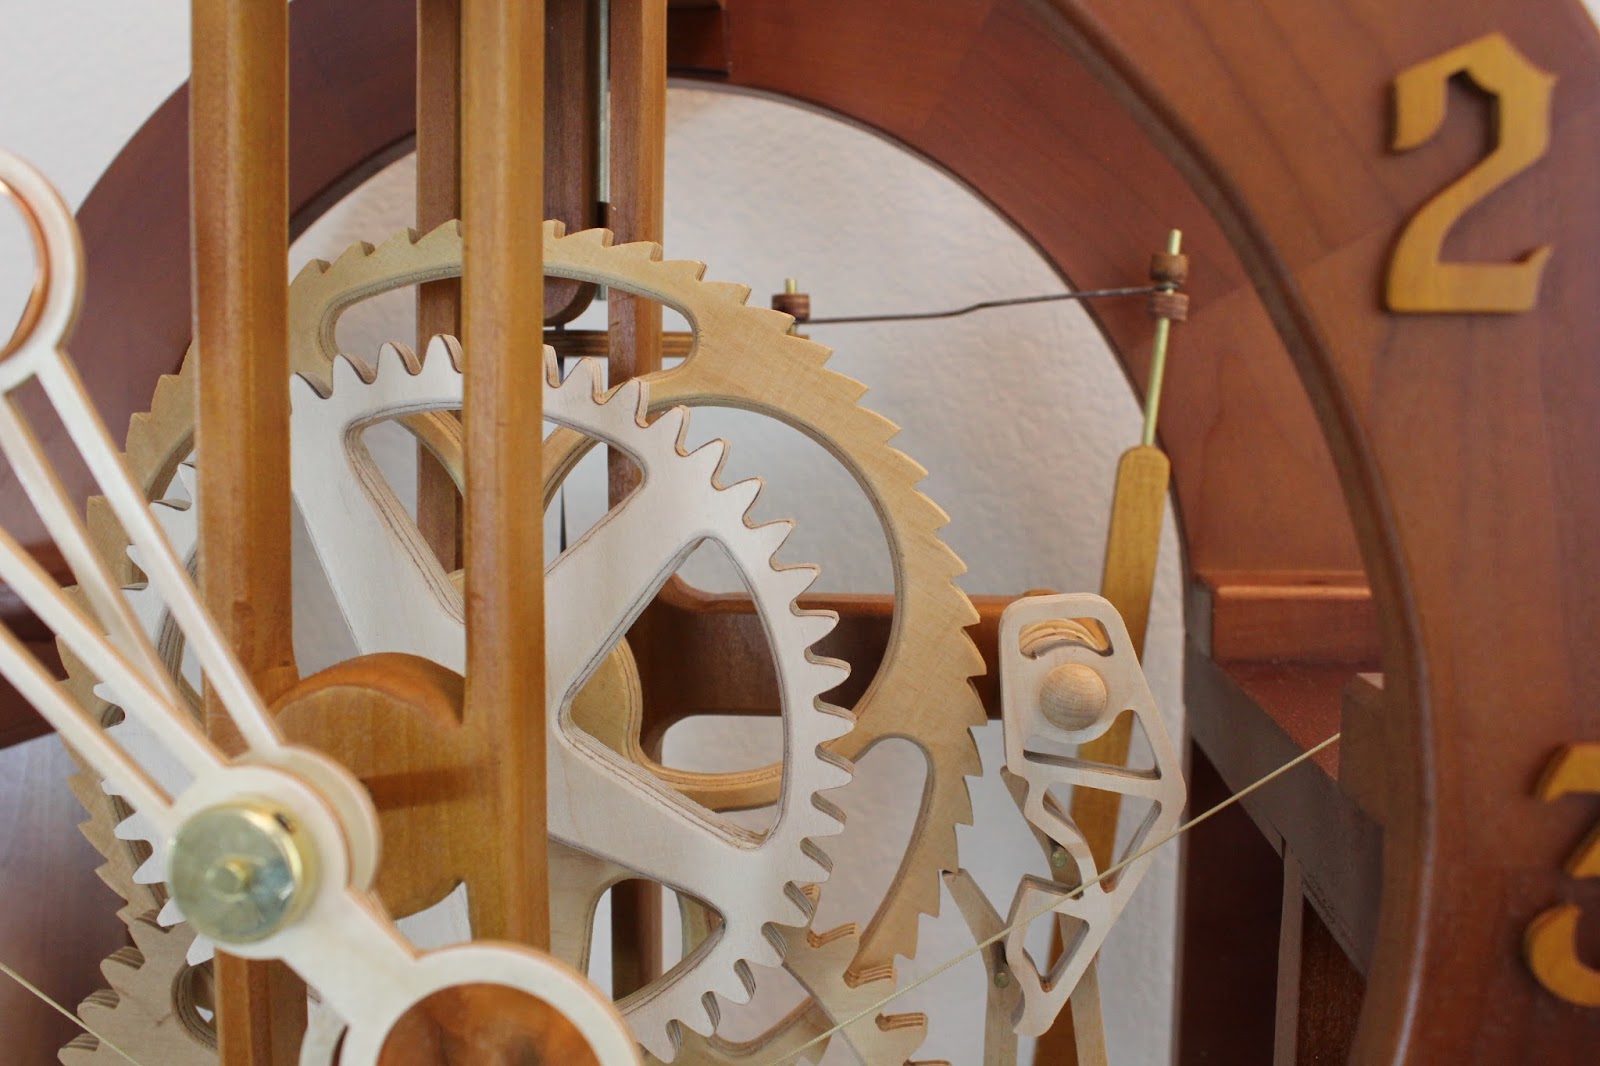
I’m
proud to attach a view of my first ever clock – made to your Simplicity
design.
Making
a wooden wheeled clock has been a longstanding dream. My daughter started me off
3 years ago by buying the plans for my birthday. Having never done anything like
it before the learning curve has been pretty enormous – not least in getting
together and learning how to use my ‘workshop’. And, probably needless to say, a
fair bit of the learning has been done the ‘hard’ way.
And
the result is a joy – running of 6lbs – which isn’t perfect – but still
qualifying for a place in our spare bedroom (beyond the reach of
puppy-teeth).
I
could never have done this without ready worked designs and plans such as yours
– so thank you Clayton for many hours of pleasure so far – and may more to come
– my wife bought me plans for ‘Nautilus’ for this birthday, and our daughter is
patiently waiting for her turn, so there’ll be no lack of projects for a good
while yet.
Greetings
from Sheffield, England
Keith
Wow, Keith, I'm impressed! That being your first clockworks ~ your
craftsmanship is spectacular. Great job on a beautiful build! Your wood
choices really make your Simplicity "Pop!"
I
also enjoyed your clock story, and it may seem strange, but I also like hearing
that the builder has had to learn certain things the "hard way". I try to make
my plans as simple to follow as possible, but there's always a bit of
frustration involved with every build (I try to engineer most of it out...but
not all!).
I
have found that the sense of accomplishment perceived at the end of a project is
directly proportional to the amount of frustration surmounted during the build.
So congratulations on both counts ~ a beautifully crafted build, and that giant
sense of accomplishment you must be feeling right now! You certainly deserve
it.
Your
second clock will, of course, be an improvement over your first...after all
you've learned a lot, but that first clock will always hold a special place in
your heart. And if you'd like to decrease that drive weight a bit, check out my
FAQ's - especially the section on "Depthing". Or, just leave it alone!!! It's
a beauty and running well, and that makes both of us very happy.
I
look forward to seeing your Nautilus pix.
Enjoy!
Aloha.
Clayton


.jpg)